
Momma's DIY Pennant

Hey Fashionistas! I hope you all had a nice Easter Weekend! Everything in my life has really been a rollercoaster. I am adjusting to my third job, technically an internship, while trying to maintain my love of blogging. I want to apologize for not giving you all more content consistently is basically what I am saying. Well, now that my rant is over I want to show you all my new DIY obsession! PENNANTS! These are absolutely adorable and would make a great cherry on top of your already beautiful party decor ;). Pennants are totally customizable and do not break the bank. You can also use them to decorate your house, apartment, dorm or what ever needs that final touch of chic-ness. (I'm making up words, roll with it) Anyway, if you want that Pinterest worthy decoration that will give you many compliments from your guests, this is it. Now that I sold you on this project, lets get started:

This is your end game.

Lets start off with your supply list. Go ahead and copy and paste this onto your Notes app so you're organized at Michaels. You're welcome.
Supply List: 1. Tacky Glue 2. Half a yard of material - I picked three different materials. 3. Sponge Brushes - I only needed one, but I recommend multiple if you are using different colors. 4. Paint - Color of your choice. I picked soft pink! 5. Twine 6. Fabric Scissors - Believe me, there's a different from regular scissors. 7. Pinking Shears (Zig Zag Scissors as I call them) - Optional, but I used it to give the stripes a zig zag edge. 8. Hot Glue Gun & extra glue 9. Burlap - Always save the scraps for another pennant! 10. Flower Decals - Optional. I used these for decor, but it is totally up to you! 11. Spool of lace - Optional. I would buy the whole spool. You can definitely use it to wrap presents, more pennants or any other projects that need a final touch. 12. Stencils - I have two different sizes, but I used the two inch letters. 13. Lastly, what ever else fits your aesthetic for your pennant.
*Tip: I would lay down a towel, plastic table cloth (Mine is from Dollar Tree), or a poster board as seen in my photos. Just so you can spare your beautiful table cloth or table.
Step One: Cut the burlap to your liking. Before you say what?! Every pennant is going to be different. Mine was long because of the location I was using. Also, my mother doesn't believe in measuring so I learned that from her. If you need measuring, I would say five to eight inches wide is a good width. As for the length I would recommend, 15 to 20 inches. Remember to consider we will be using a couple inches to string the twine through. As for the amount of strips to cut, I would plan what you want your banner to say, plus the two end pieces for effect. I made mine for Easter so my pennant had a total of eight strips.


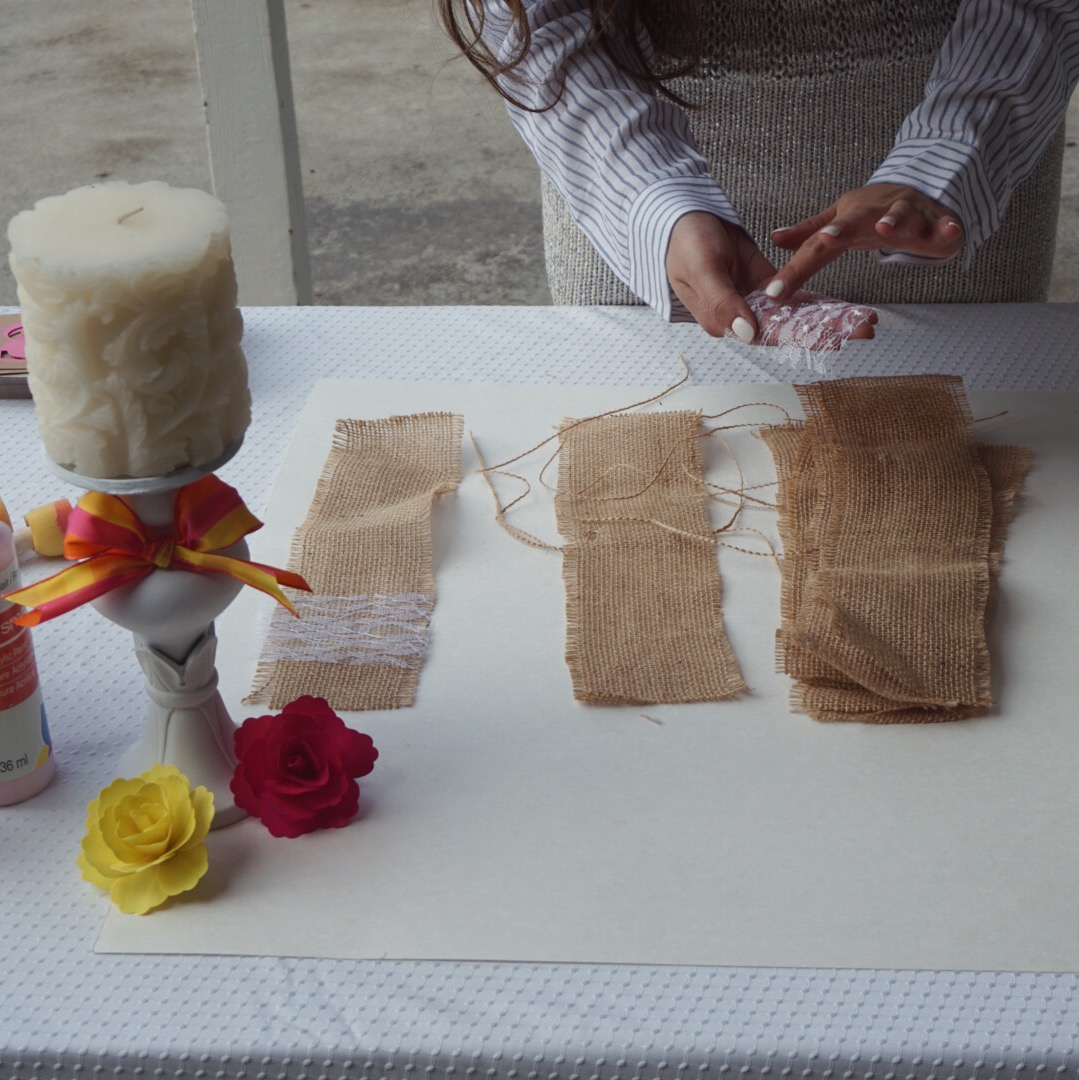
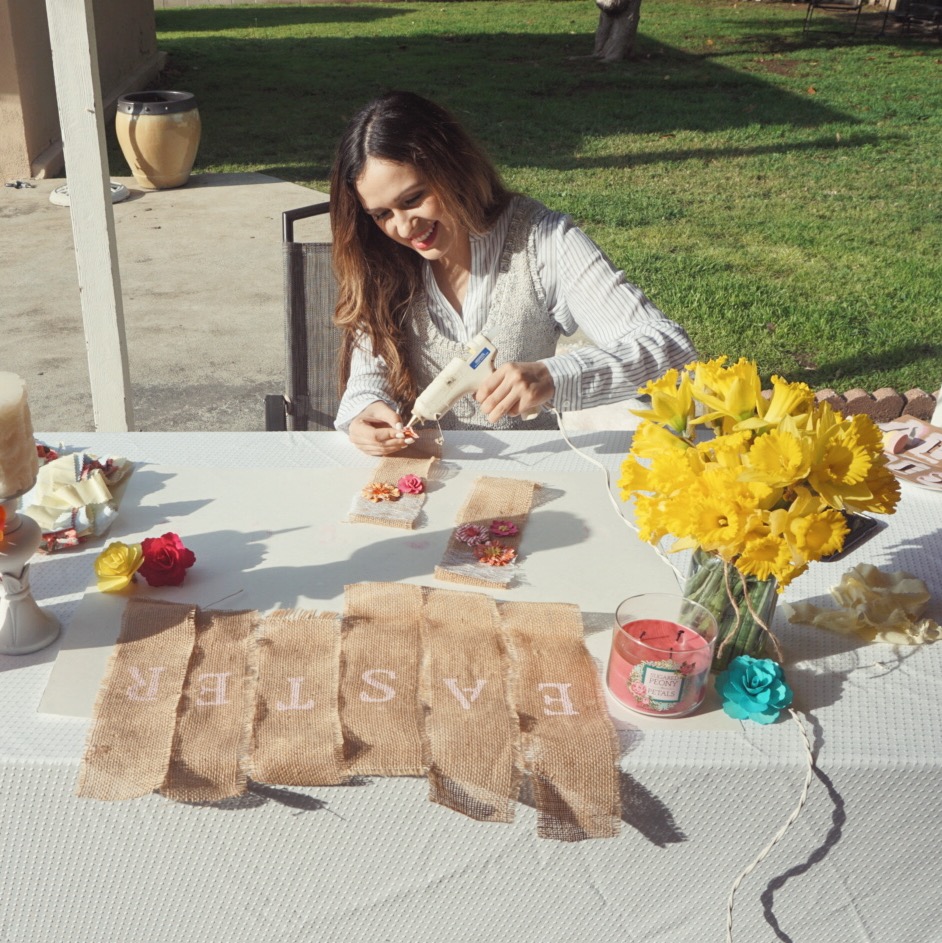
Step Two: We will be decorating the end pieces first just so we can have a visual of where our pennant will start and end. Also, this requires gluing and it is a good idea to do all of the gluing and painting first. No one likes to wait for paint to dry. Am I right? If you bought lace like I did, cut it to the width of your first strip. I thought it looked pretty as a top piece so I only cut around three inches in length. Use the tacky glue to paste it onto the burlap. Tacky glue dries clear and has a pretty strong hold. It works great for fabrics! Next, fold the top of the strip giving you room to string the twine through the banner. (I made my flap waaaaay too small and spent quite a while trying to string the twine through. For the love of pizza, do not make that mistake!) Go ahead a glue the flap down. The fun part! Decorate the two strips with those lovely flower decals! Woohoo!

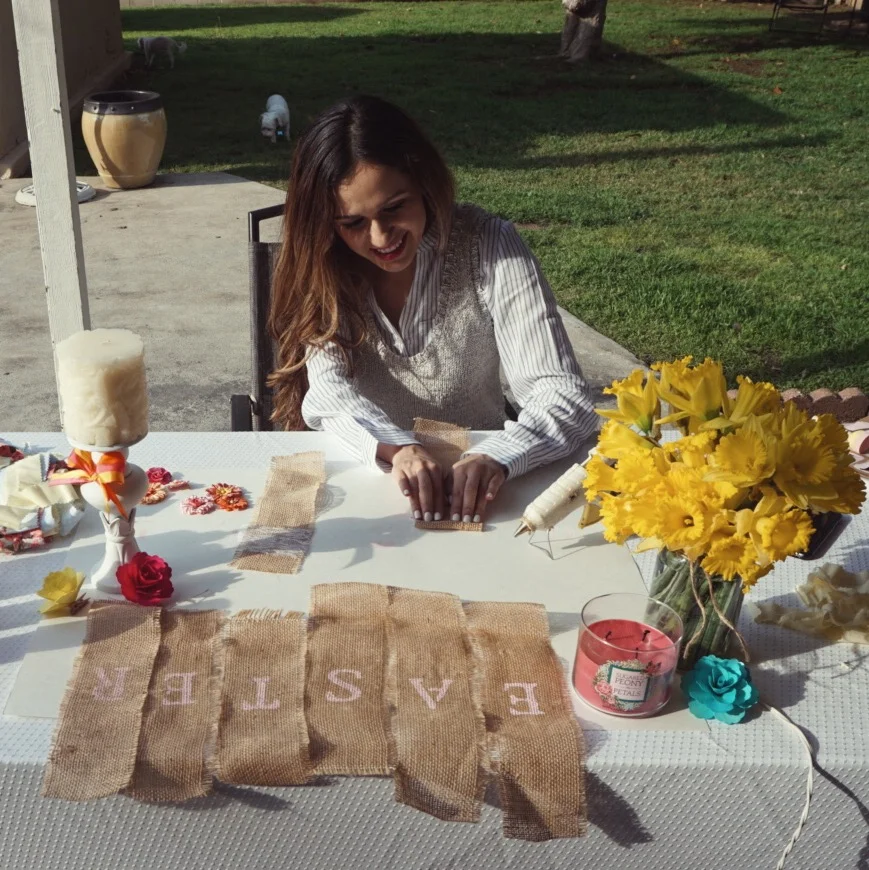


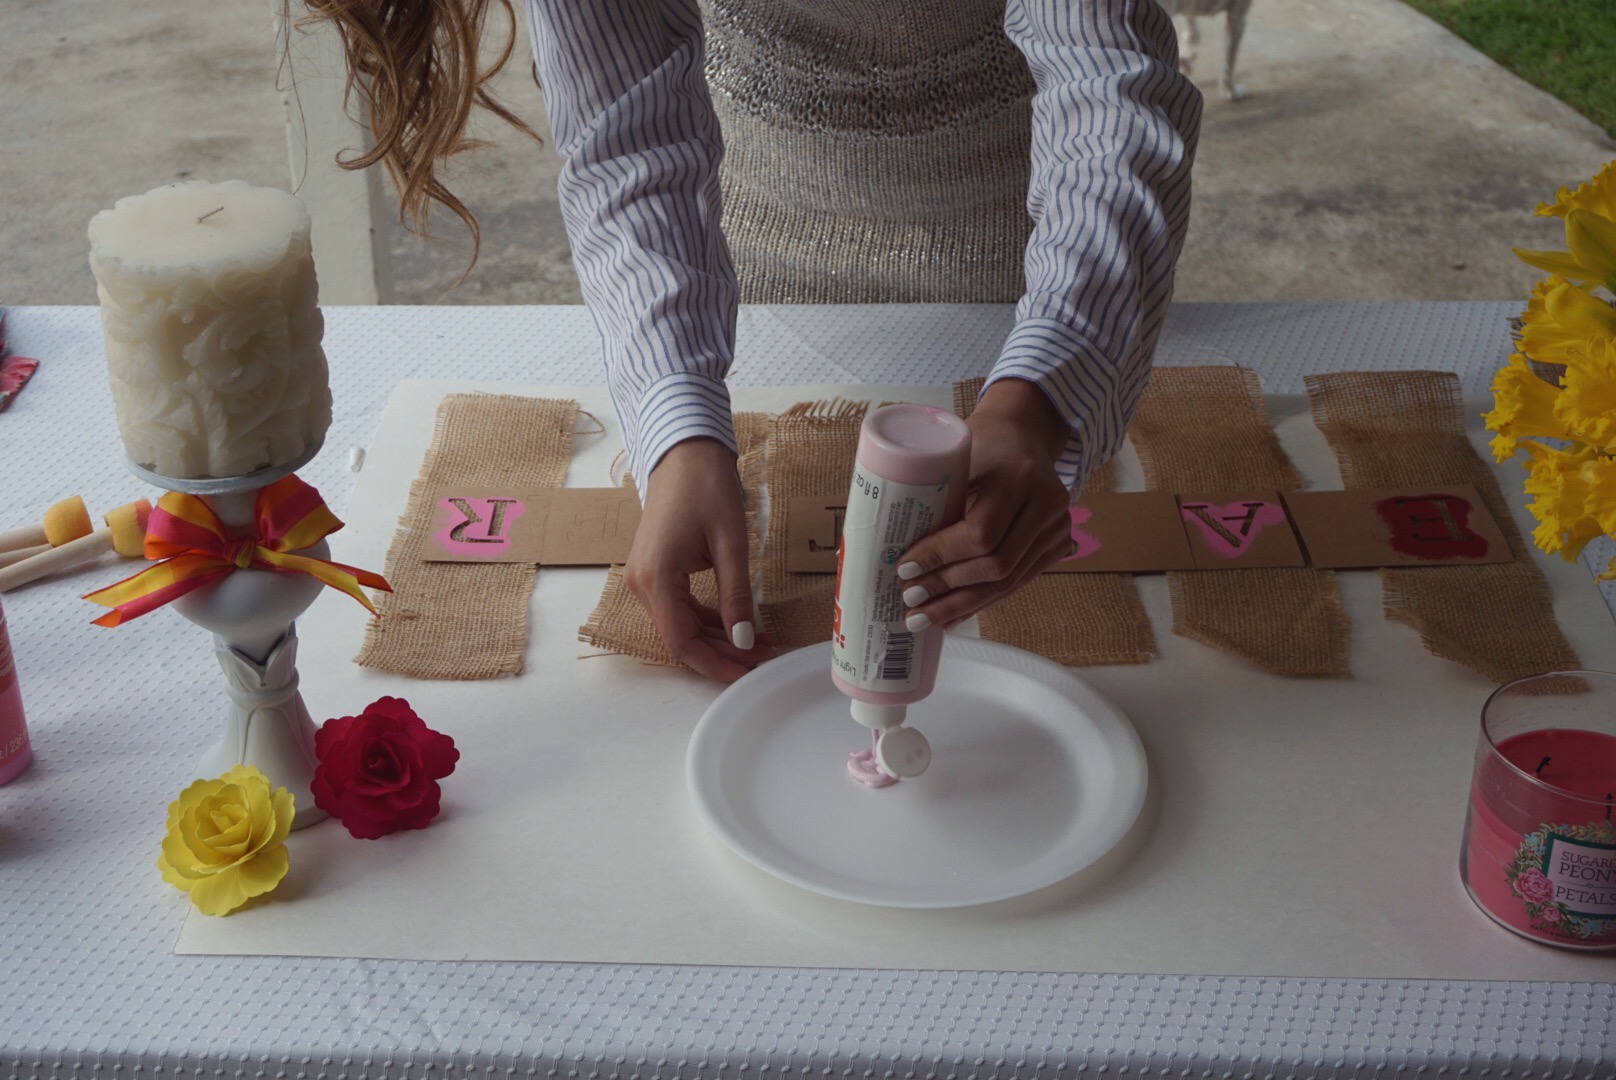
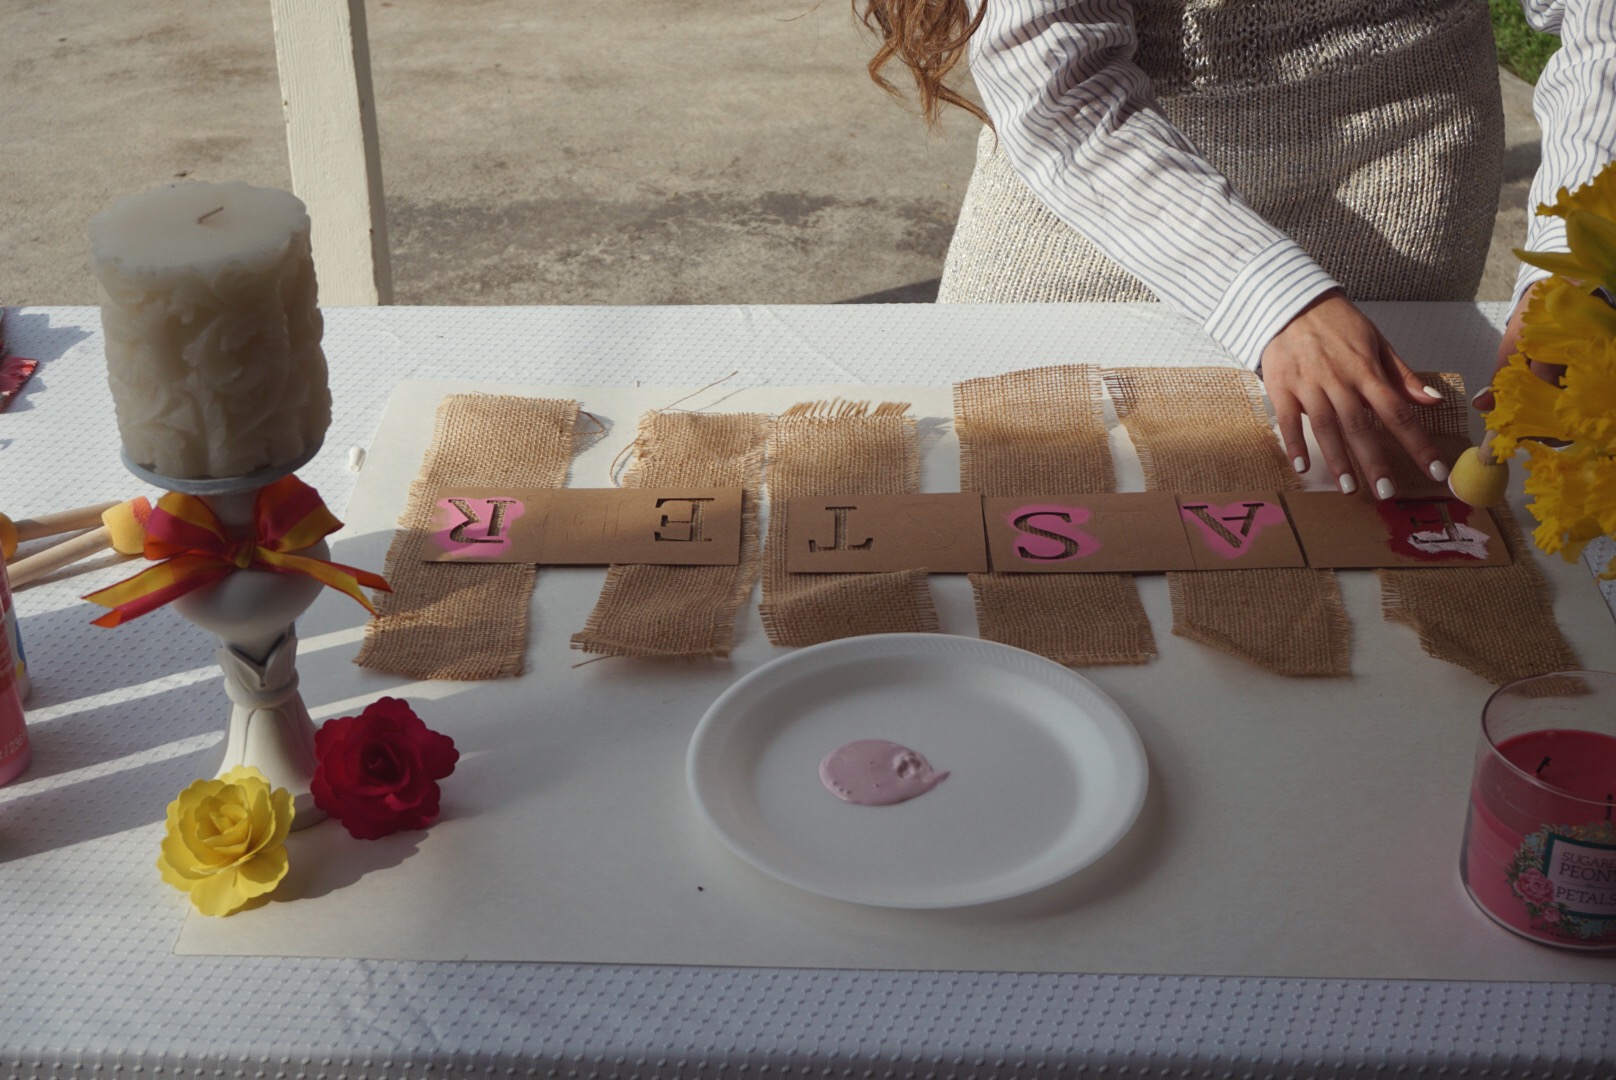


Step Three: First, glue down a flap on each strip just like we did in the previous step. Line up your stencils on the burlap. You want to make sure your letters are straight-ish. You can choose to paint the letters at the top, middle or even the bottom of the pennant. I love everything centered so I went for the center. Do not be too hard on yourself if they are a little off because there will be quite a few strips of fabric in between each burlap strip. When you are ready to paint, pour a small amount of paint onto a paper plate or palate and use your sponge brush to lightly dab the paint onto the stencil. Move them off to the side to dry.


*Tip: If you need a break, go for it! My dog Belle decided she wanted to stop photobombing and get in on the action. She also stole a lick of my coffee when I wasn't looking. Crazy girl. You can follow her @Belleandbambam on insta ;)


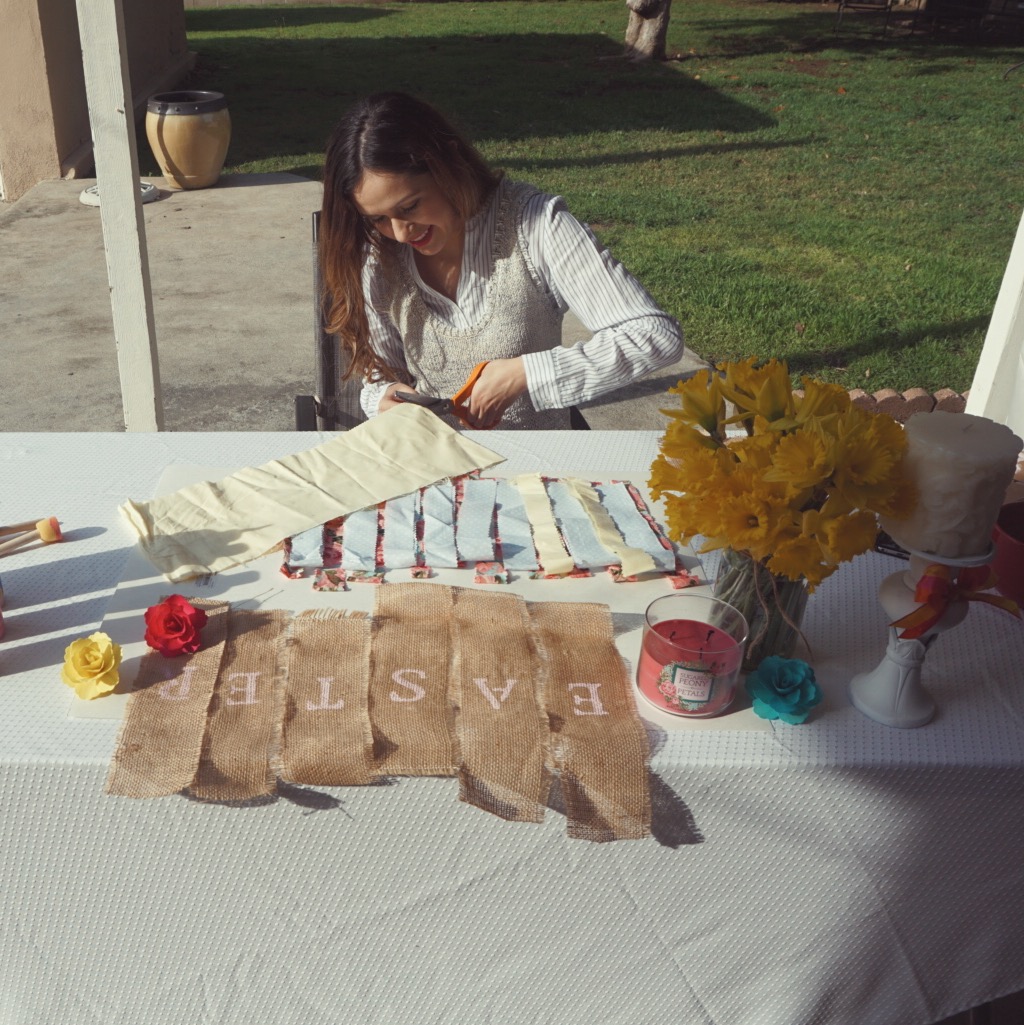

Step Four: Next, we are going to cut the material. Since this pennant was for Easter, my mother decided on soft Spring colors. You can pick as many colors as you want. This is your pennant! I would recommend a minimum of three colors just so it is full and not sparse looking. The length of this fabric is going to be different because we will be tying the strips in a bookmark tie. (Will explain in a moment.) So if you cut your burlap 15 inches in length, you'll want to cut this material 30 inches in length. Basically, just double your length. I would cut each strip one to two inches wide. They should be smaller than the burlap strip. Make sure to use those pinking shears for the pretty edges. You can also use any other specialty scissors. Michaels has a wide assortment! You can cut as many strips as you want, but I would start with 10 of each. You can always cut more later if you want a more full look.
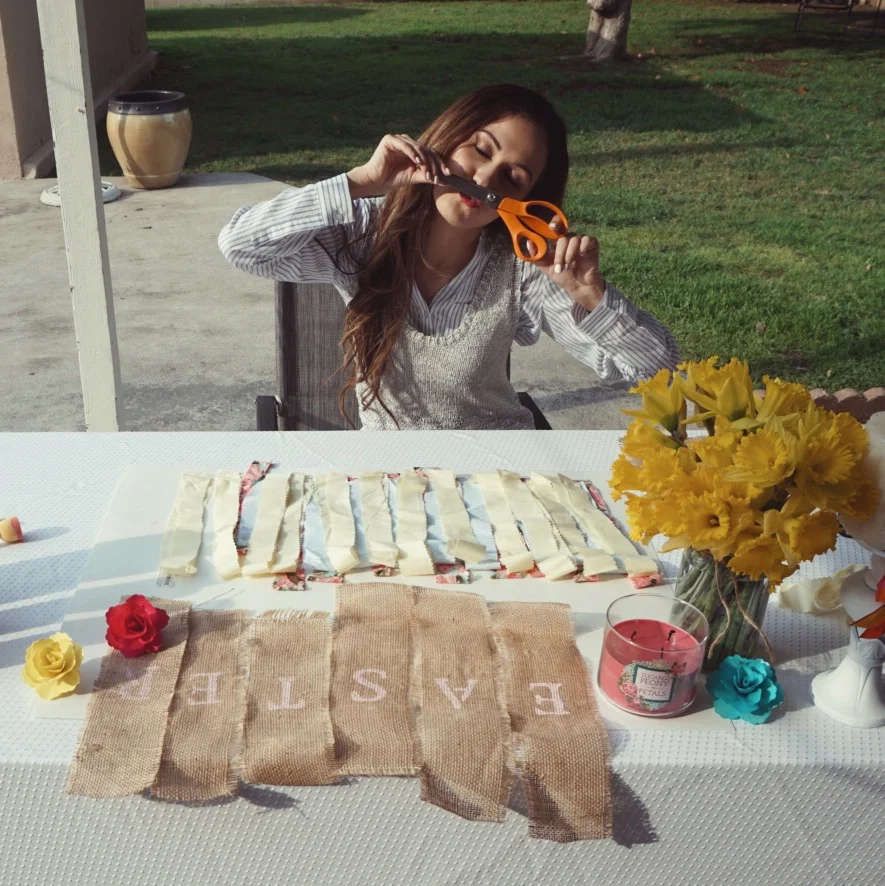
*Tip: Mistakes happen. Remember to enjoy yourself or even invite a friend over to make one with you! Don't forget to tag me in your pics! #tbgf #brokegirlDIY #thebrokegirlfashionista

Step Five: After everything is cut, go ahead and string your twine through the loops of the burlap. Simply pull some string out of the twine spool, but DO NOT cut it until you are completely finished. This way you can add more string at the ends if need be. After sting the twine through, measure how many strips of materials you want between each burlap strips. I did an assortment of each. I mainly used three of each color, but I ended up cutting extra.


Step Six: Now for that bookmark tie! There are many ways you can tie the material on such as a regular knot. I think the bookmark tie is cute and just as easy as the knot. To tie a bookmark tie, you'll want to fold your strip in half and hold it at both ends. Placing the loose end inside the loop end, you'll pull it through creating a tie effect. Be sure to do this around the twine so it is tied on. After you can slide it around in the spot you prefer. After you tie all of the strips onto the twine, measure how much twine you need at each end. Cut the twine, and you are done! YOU GO GIRL! (or guy! haha) You did it! Easy right?


Thanks for reading! I hope you enjoyed this DIY project, and let me know if you want to see anything else. Thank you mom for being the queen of pennants! You are so CRAFTY! haha Luh you. Until next time Fashionistas...
Love,
